Automotive Seat Leather Inspection
Automotive seat leather inspection: for wrinkles, delamination, stains, scratches, color differences and damage on seat genuine leather/PU/microfiber wrapped parts, multi-angle imaging with low-angle light and transmitted light assistance separates defects from natural grain and wrapping undulation; AI judges and marks defect positions, outputs OK/NG and supports data traceability.
Application Overview
Wrinkle and delamination inspection of seat coverings in genuine leather/PU/microfiber
Inspects the surface of automotive seat leather (genuine leather/PU/microfiber) for wrinkles, delamination, stains, scratches, color difference and damage; multi-angle imaging covers the three-dimensional curve after wrapping, and AI judges defects and marks their positions.
Automotive seat leather is a three-dimensional wrapped part, with natural texture and wrapping relief on the surface; defect shapes are irregular, and flat illumination alone tends to escape defects in the shadows of the curved surface. This site has real photos of seat leather inspection that can be used as a reference for the imaging setup.
This station addresses appearance defects on seat leather surfaces, focusing on covering wrinkles, delamination (poor bonding), stains and scratches; color difference and leather grain consistency are also included in the judgement.
Inspection is carried out after covering or at the incoming material hide stage, in units of a single part / single area; the specific imaging angles and algorithms are adjusted according to the leather type (genuine leather / PU / microfiber).
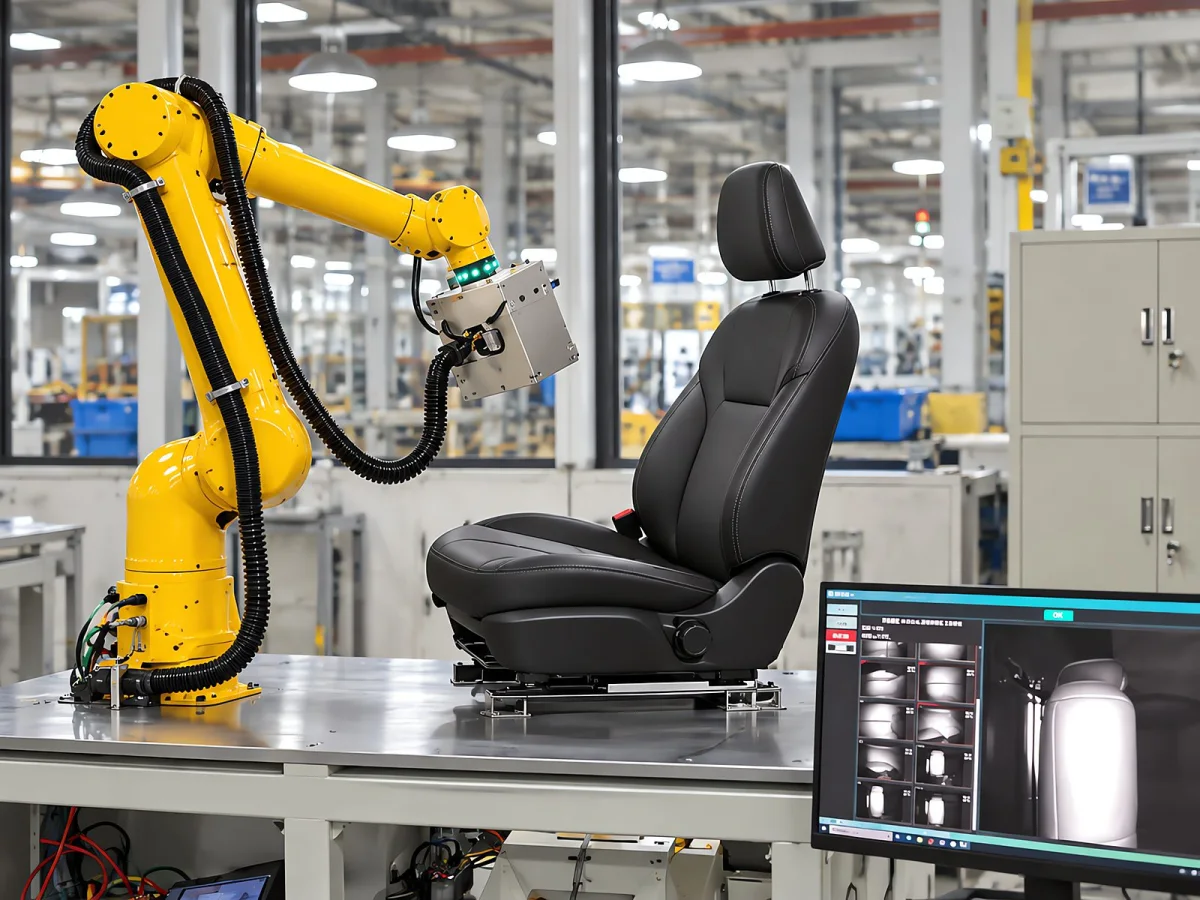
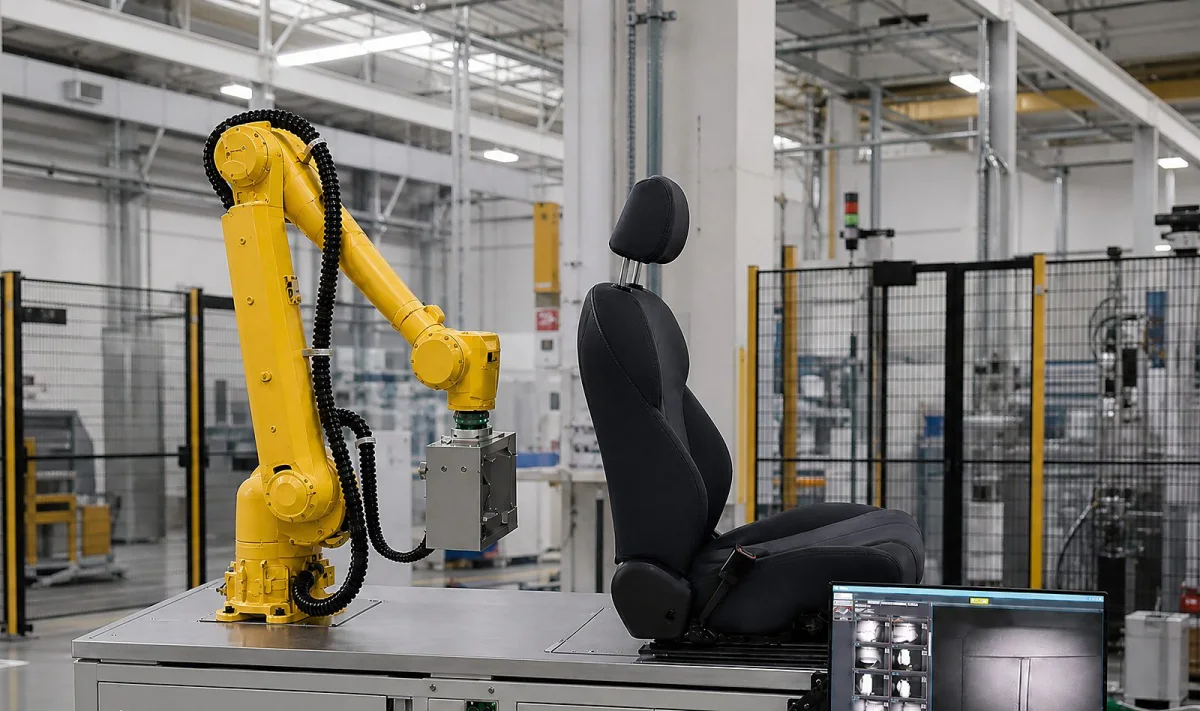
inspection Targets
What This Station Actually Has to Judge
| inspection item | Description |
|---|---|
| Wrapping Wrinkles | Indentations, wrinkles and bulges on the surface after wrapping |
| Layer separation | Poor bonding between leather and substrate, blistering |
| stain | Oil stains, fingerprints, off-color contamination |
| scratch | Surface scratches, abrasion |
| color difference | Does not match the standard sample color |
| Damage / Hole | Damage, Pinhole |
| Leather Grain Consistency | Abnormal grain direction / coarseness |
Why Inspect
Problems with manual visual inspection at this step
The seat leather surface is a three-dimensional wrapped part where the natural grain of the leather and the relief of the wrapping coexist; defects and normal light-dark variation are easily confused, and manual visual inspection struggles to keep a consistent standard in mass production.
Defects such as wrinkles and delamination affect appearance and service life and often appear at edges and corners, requiring multi-angle imaging for stable detection.
- Shadows on 3D curved surfaces easily mask defects
- Natural leather texture varies widely, making thresholds hard to set
- Wrinkle delamination mostly appears at edge lines and corners
- Inconsistent manual judgement criteria, hard to trace
How Inspect
Stations and Inspection Chain
- 01 Loading and fixing the seat leather part
- 02 Multi-angle camera arrangement to cover curved surfaces
- 03 Low-angle light highlights wrinkles and scratches
- 04 Side light / transmitted light to assist delamination observation
- 05 AI segmentation of defect regions
- 06 Classification and judgement of defect type and grade
- 07 Marks the defect position
- 08 OK/NG output
- 09 Image and data archiving
How to Inspect
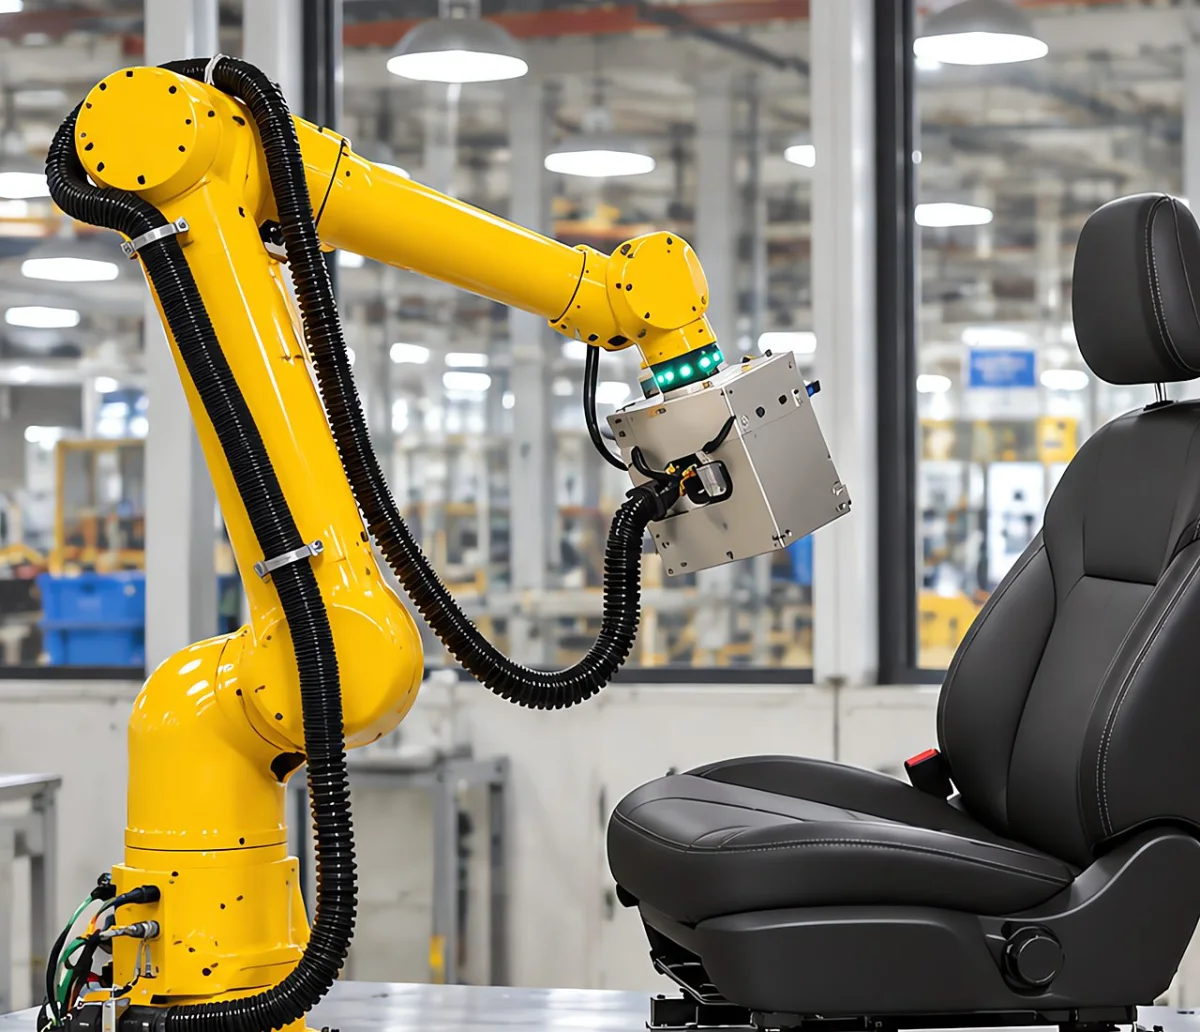
For three-dimensional wrapped surfaces, multiple cameras are combined with low-angle / side light, so that wrinkles and delamination are distinguished from the normal leather grain and relief; this is an imaging method that combines surface topography and texture.
Technology Architecture
Optical imaging layer · algorithm layer · vision software layer · automation control layer
The product is not a single "camera inspection" but a four-layer coordinated system: the optics layer determines whether a defect can be imaged, the algorithm layer determines whether it can be resolved, the software layer handles judgement and recording, and the automation layer handles integration with the production line.
First Layer: Optical Imaging Layer
Configure cameras and light sources according to the leather type (genuine leather / PU / microfiber): multi-angle cameras cover the wrapped curved surface, low-angle light highlights wrinkles and scratches, a polarizer with diffused light suppresses specular reflection from the leather surface, and side light or transmitted light helps observe delamination boundaries.
Layer 2: Algorithm layer
Seam and contour analysis, region analysis, and gray-level and color difference inspection are used for measurement items; AI classification, object detection and semantic segmentation are used for defects of varying morphology, and grain consistency is judged by classifying the material.
Third Layer: Vision Software Layer
Centrally manages leather recipes, imaging paths, algorithm calls, parameter management, inspection results, defect classification, image traceability and report statistics.
The Fourth Layer: Automation Control Layer
Integrates with the robotic arm, PLC, loading and unloading mechanism, sorting mechanism and MES / data system to complete motion triggering, on-the-fly imaging synchronization, sorting and data return.
inspection defect
| Defect Types | Typical Manifestations | Inspection Focus Points |
|---|---|---|
| Wrinkles and Indentations | Wrinkles and indentations at wrap undulations | Low-angle light highlights it |
| Layer separation | Lamination bubbles, delamination | Multi-angle + transmitted light assist |
| stain | Oil Stains, Discoloration | Diffused-light Segmentation |
| scratch | Linear Scuff | Low-Angle Light |
| color difference | Local darkening / brightening | Color Patch Comparison |
| damage | Holes, Pinholes | Backlight |
| Leather Grain Anomaly | Inconsistent Grain | AI classification |
Applicable equipment
Item Deployment
Ten steps from sample analysis to delivery
- 01 Product sample analysis: confirm the leather type, color, grain and wrapped part structure
- 02 Defect standard confirmation: define what counts as OK and what counts as NG, and build a defect sample set
- 03 Inspection requirements confirmed item by item: wrinkles, delamination, stains, scratches, color difference, damage, leather grain
- 04 Vision testing and illumination trials: camera, lens and light source imaging results are tested separately for genuine leather / PU / microfiber
- 05 Robot path planning: plan the imaging trajectory according to the seat's curved surface and the inspection zones
- 06 AI model training: build a defect recognition model using actual leather samples
- 07 Inspection zone division and criteria definition: separate zones for edges, corners and seams
- 08 Master sample baseline setup and parameter tuning
- 09 Complete machine integration and trial run: integrate the robotic arm, vision system, software platform and inspection logic, and measure over-rejection and escape
- 10 On-site validation and delivery: continuous running tests according to the actual production cycle time and quality standards, acceptance, training and maintenance
Information to Prepare
Recommended to prepare: the physical product, product photos, 3D/CAD data of the product, product dimensions, material and color, inspection area, defect samples (OK samples and NG samples), the minimum defect size to be detected, production cycle time and daily output, the current manual inspection method, and whether inspection data traceability is required. The more complete the information, the easier it is to accurately plan the imaging method, number of cameras, and AI inspection model.
Application Industry
Common Question
Common questions about automotive seat leather inspection
What is the hardest part of seat leather inspection?
Can It Replace Manual Visual Inspection?
Can one solution handle both genuine leather and PU?
How Is Delamination Detected?
Can wrinkles in seat leather be detected reliably?
Why does seat leather inspection use a robot arm?
How long does it take to inspect one seat?
How Many Images Can Be Acquired at One Time?
What can be done when dark defects on dark leather have low contrast?
Can inconsistent leather grain (abnormal grain direction or coarseness) be inspected?
Do we need to re-set up when the leather model or seat model changes?
How Are Inspection Results Used?
What information is needed for seat leather inspection?
What Inspection Accuracy Can Be Achieved?
Submit sample testing
Typical OK/NG seat leather samples can be sent in for measured testing: the multi-angle illumination and algorithm solution is determined from the leather type and the wrapped part geometry.
Submitted successfully
We have received your sample testing request. A solution engineer will contact you within 1 business day via contact you.
Need to assess imaging conditions, defect criteria and cycle time item by item? Go to the Full Requirement Assessment →
Can This Application Be Done? Sending a Sample for Testing Is the Most Direct Answer
Incoming material, part orientation and cycle time vary widely from factory to factory. Send us real samples and we will run imaging and judgement validation against your production line conditions, then give you a configuration proposal you can actually implement.